

Using a screen printing software isn’t that tough; you have a design, a screen, and you know the workflow. But there is still a huge gap between people who merely know how to do it and those who use it to its full potential for their benefit. And this gap persists primarily because you don’t have a clear idea of the entire process. Thus, to help you and make you more efficient, here is a step-by-step guide to do so.
What is Screen Printing Software?
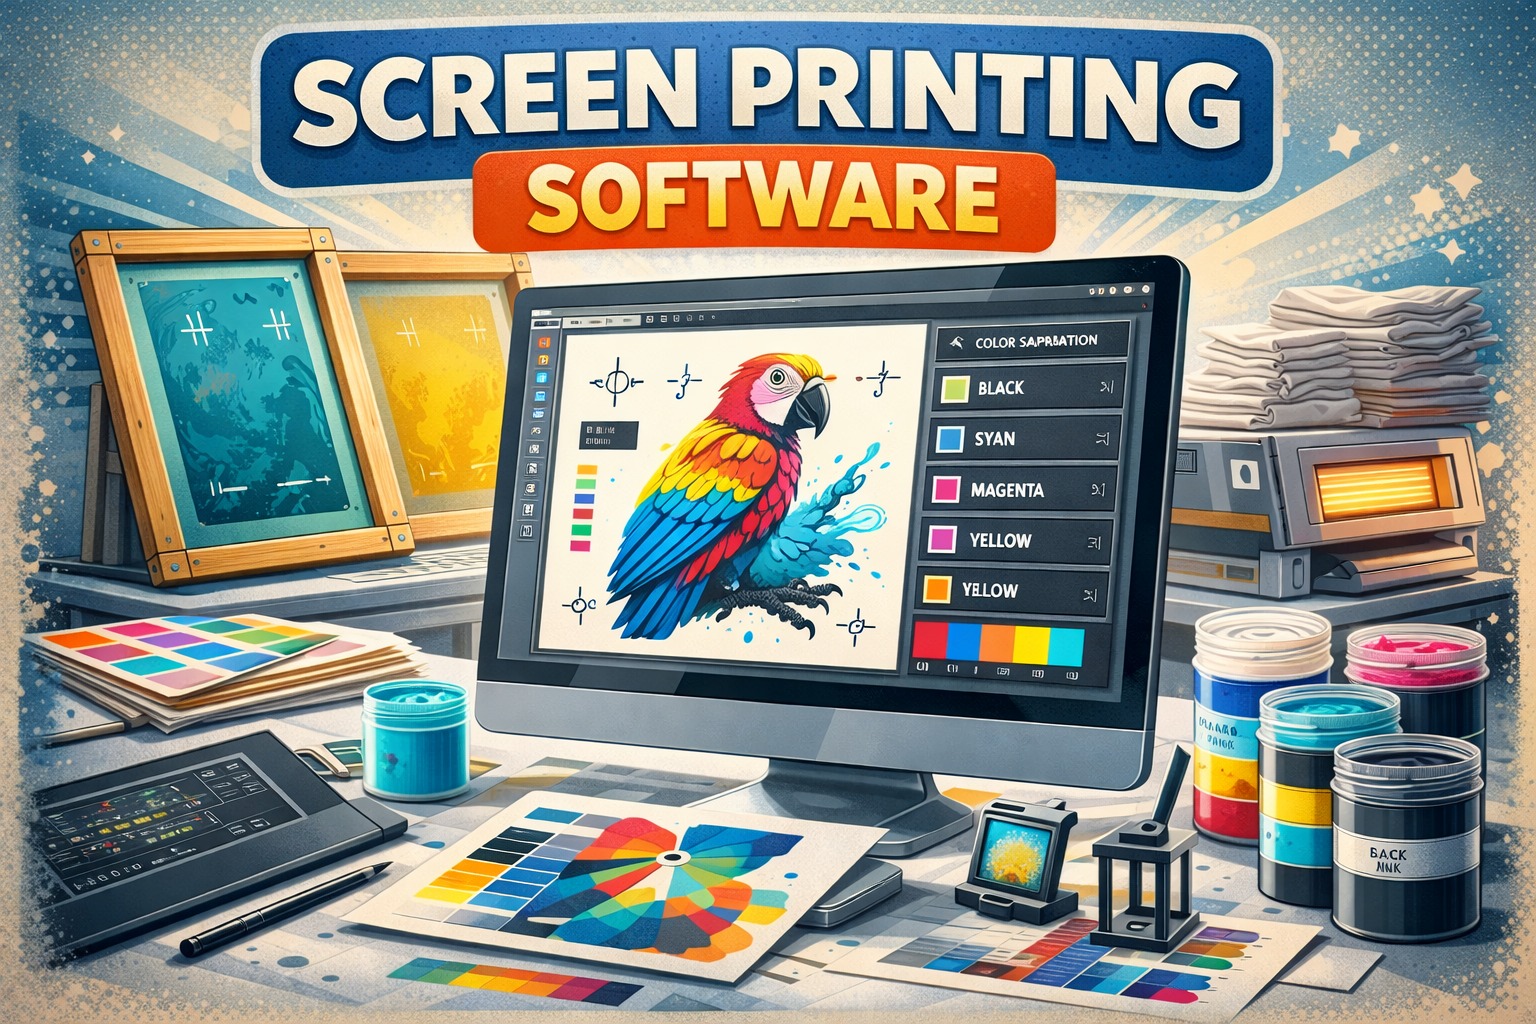
Screen printing software is a digital tool used to create, edit, and prepare artworks. This helps you carry out your operations from creation through production more efficiently. And while moving through the entire process, it takes care of several things, from ink layering and colour accuracy to stencil creation before printing, and more. Thus, a screen print software tool is primarily used to create print separations, which are then used to develop screens.
Step-by-Step Guide on How to Use Screen Printing Software
Using screen printing software isn’t a one-step process; it involves several steps. And sometimes it becomes a little confusing as to which to start with. Thus, to help you with that, here is a step-by-step guide that breaks down the complete screen print program, from creation to export.
Choosing the Right Software
The first thing to start with is to choose the right software for screen-printing, as per your skill level. There are various software tools, from basic to advanced. Thus, having one that is appropriate to your business requirements and level is essential.
Create Your Design & Do Vectorisation
The initial step when using a screen print software is to create your design. When creating your design using screen-printing design software, make sure you keep the resolution, colour mode, and size in mind. And if your design is in raster graphic format, convert it to vector format. As compared to raster graphics, vector graphics help you achieve precise lines and clear images even at larger sizes.
ensure that
Do Colour Separation
The next step is to perform colour separation using software. It is one of the essential steps: if you have a multicoloured design, you will have to separate each colour into black layers, as each colour requires a separate screen. You can also check whether your software has an in-built option to separate colours, as it will help you and ease your work.
Add Registration Marks
Furthermore, if you have a multicoloured design, you will need to ensure the colours are properly aligned. And to do so, your next step is to add registration marks. These are the small marks added to each colour layer by creating a crosshair or bullseye symbol and placing them outside your design area. To ensure that you get proper alignment during printing.
Add Spread
If you have a multicoloured design, your next step is to add a tiny outline or spread the colours. This is done specifically because, in case there is a slight misalignment, adding spread will prevent any gaps between colours. Thus, screen printing management software helps you manage it more efficiently.
Invert Design for Laser Exposure
If you are using laser engraving, the next step you need to follow is to invert your design in the screen print software before exposure. To help you create a positive stencil, it is important to note that the screen is always engraved from the back, making it a necessary step.
Finalise for Print
Now comes the last part: before sending the final output to the screen print printer, you need to carefully check the preview. Things you need to check include whether colours are separated, whether line thickness is correct, whether registration marks are properly placed, and whether alignment is correct.
Mistakes That You Must Avoid While Using Screen Printing Software
Although you are well aware of the entire process now, there are some mistakes everyone usually makes when using screen printing software. Hence, to make sure you don’t make them, here is a list of some common mistakes that you must avoid.
- Skipping the underbase on dark fabrics, as it will look muddy and dull without it. So always make sure to add a white underbase when using black or navy fabrics.
- Starting with too many colors. Don’t start with an eight-colour gradient, as each colour is a different screen & another registration point, which can be tough to handle, so make sure to move slowly.
- Flattening your design file before saving. Once your layers are merged, editing individual colors can be a bit difficult. So always keep a layered working file separate from whatever you export for output.
- Trusting auto-separation without checking it. Software can make guesses too while printing. So it’s better to give five minutes reviewing the separations manually to get the print right.
Conclusion
Screen printing software is a great tool to help you complete your work more accurately while easing your workload. But to use it to your best potential, it is essential that you understand how to use it efficiently. Thus, this was your complete guide, providing a comprehensive overview of the process.


