


Imagine stashing an old SSD full of photos and documents in a drawer “for safekeeping.” You come back a year later and plug it in… only to find some files have gone missing or the PC refuses to boot. It maybe can sound otherwise but it’s real. SSDs or solid-state drives don’t store data magnetically; they rely on tiny electrical charges in NAND flash cells. Without power, those charges slowly leak away, and your files can fade with them.
In fact, one SSD engineer bluntly says the #1 rule is to backup above all else, because eventually flash will fail. Even so, many people treated SSDs like permanent vaults – until now. Modern SSDs using high-density flash (like QLC or TLC chips) can only hold that data of yours reliably for a couple of years at max when powered off. In practice, that means a QLC drive, which is quite common, could start losing bits after about 12 months unplugged, and a TLC drive might falter after a few years. Older MLC- or SLC-based SSDs were rated for longer retention – 5–10 years… but those are rare today. So if you leave that backup SSD in a drawer for 12 months, you could lose your data.
What Causes Data Loss on an Idle SSD?
The reason is basic physics. When you write to an SSD, voltage pulses flip bits in each memory cell – like inflating balloons with data. Over a period of time especially if the drive’s been used heavily or kept hot, those “balloons” lose air. Engineers note that data retention drops off sharply as a drive wears out (more write/erase cycles) or sits in heat. A nearly-new SSD at −40 °C could theoretically keep data for decades, but a used drive in a hot attic won’t.
Bottom line: SSD flash isn’t an eternal vault for your data. Eventually it leaks.
Symptoms of this issue can be dramatic. A PC that worked last year won’t boot now, or it throws file-system errors. Drive letters vanish; folders appear empty. One user returned to a mini-PC after six months off, and Windows “refused to boot or be repaired” on that SSD – it was essentially blank. That drive needed a full reformat before it’d work again. In short, important files can simply become inaccessible without warning.
System Restore and Windows Troubleshooting
What should you try first? Know that Windows System Restore or Reset just won’t bring back your personal files. Restore points only roll back system settings not your documents or those pictures. If your SSD’s data is truly gone or just corrupted outright, restoring Windows won’t just recover your files all of a sudden.
Instead, begin with diagnostics:
- Drive Detection: Connect that affected SSD to another PC or just use a USB-to-SATA adapter. In Windows’ Disk Management or a Linux live USB maybe, check if that drive you have is recognized at all. If it isn’t seen by the BIOS or OS, the SSD controller may have locked up some SSDs and they disappear when they fail.
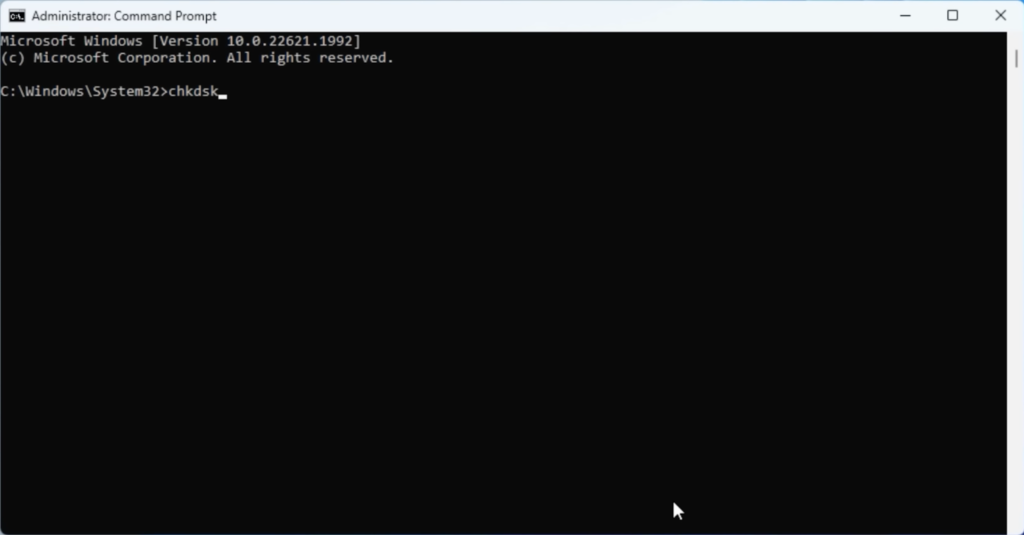
- File System Check: If the SSD appears even as RAW or unallocated space, run CHKDSK (open an admin Command Prompt and type chkdsk /f X:) or a Linux fsck. This can repair a broken NTFS/FAT structure and sometimes make files reappear.
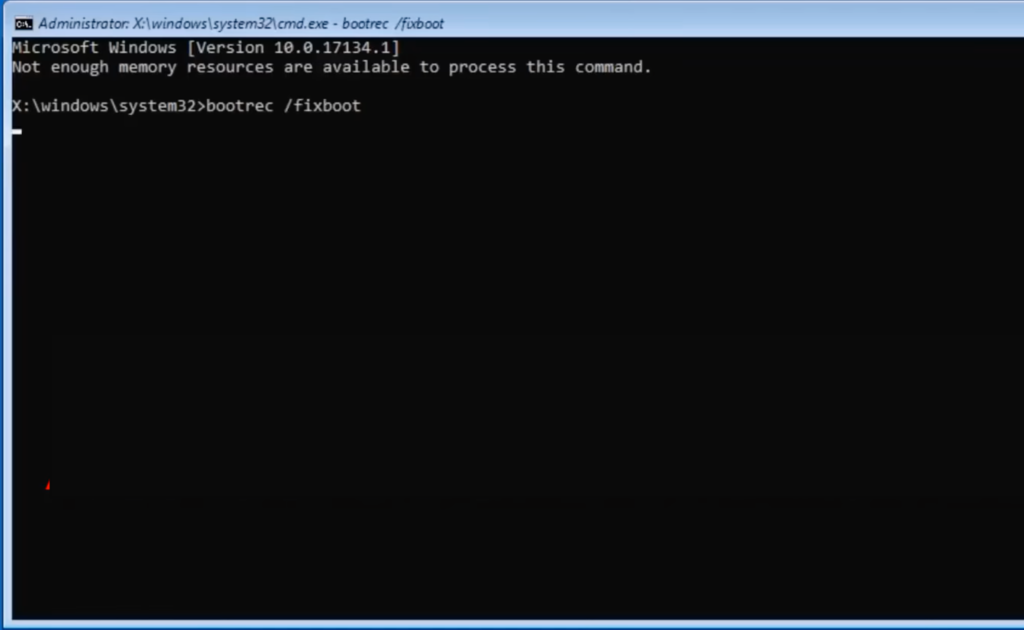
- Windows Recovery: Boot from a Windows install USB or recovery drive and run Startup Repair or manual fixes. Commands like sfc /scannow or bootrec /fixboot might fix boot issues without touching your data.
These steps might revive the drive if the damage is minor. But be very careful: do not copy or install anything new onto the troubled SSD. Overwriting even a few bytes could destroy recoverable data.
Data Recovery Software to the Rescue
If troubleshooting fails, a dedicated Windows data recovery software can be a lifesaver. Data recovery tools scan the drive’s raw sectors to piece together lost files that the OS can no longer see. It’s like a digital CSI search: even if the file index is ruined, fragments of your photos and documents often remain intact.
Here’s the approach:
- Free Scan First: Use a trusted Data Recovery Software that offers a free trial. Many let you recover up to ~1 GB at no cost. Install it on another PC or drive, run it on the SSD, and see what shows up.
- Preview Your Files: Good software will list recoverable files by name or thumbnail. Check if your important files (pictures, docs, etc.) are on the list.
- Upgrade to Recover: If the free scan finds your data, buy the full (premium) version. The full license usually removes recovery limits and enables deeper scanning modes.
- Recover to Safety: Save recovered files to a different, healthy drive (not the failing SSD).
When picking a recovery program, look for features like:
- Deep Scan: The tool should scan every sector of the SSD, not just a quick scan.
- File Preview & Filter: Ability to filter by file type and preview files so you know you’re recovering the right items.
- Wide File Support: Recognizes many formats (JPEG, MP4, DOCX, etc.) – this ensures you can recover all kinds of data.
- Free vs. Premium: Free/trial versions are great for testing, but premium unlocks everything. Premium modes often add faster scans, unlimited recovery size, photo repair modules, etc.
- User-Friendly: A clear interface and wizard keeps this process from getting overwhelming.
With these tools, many users recover far more data than they expected. It’s not foolproof, but it’s often the best DIY solution before considering a costly professional recovery.
Our Pick: Stellar Data Recovery for Windows
This tool helps you recover lost or deleted data from your Windows system very easily, no matter how the data was lost… whether by mistake or even if someone deleted it on purpose. It can bring back your documents, emails, photos, videos, and many other types of files. It just supports all those common file formats and works on different storage devices like hard drives, SSDs, pen drives and memory cards as well. Even if the drive is formatted, corrupted or encrypted, it can still recover your data provided you have the key. And now, it also lets you pause the scan in between those recovery scans as well and conveniently restore your files when you’re ready. Here’s how you can do that and bring them all back:
- Download Stellar Data Recovery for Windows and install it right away.
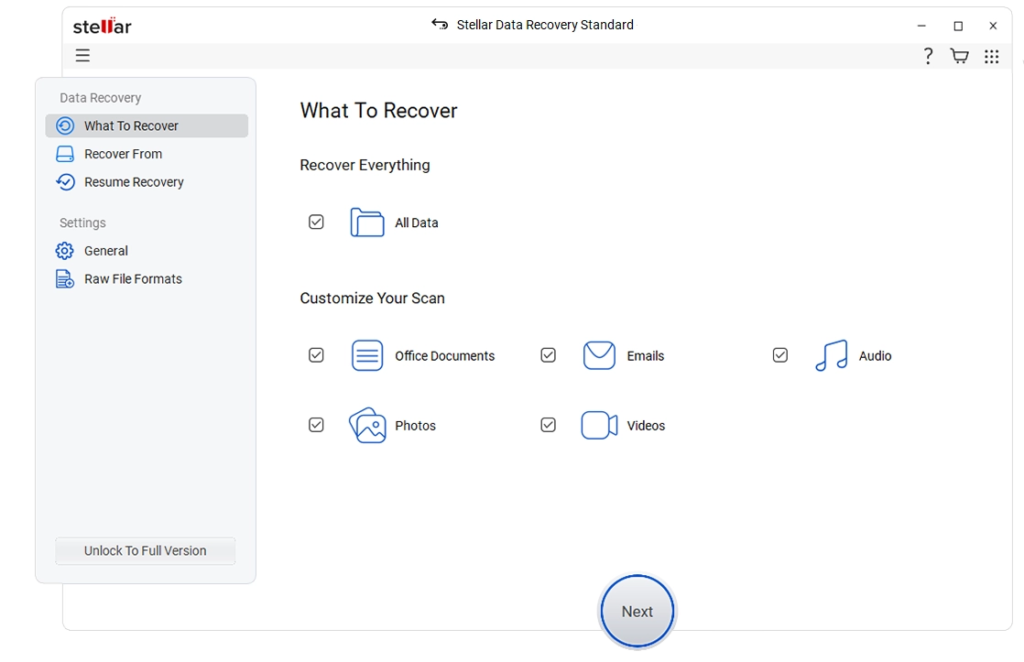
- Go ahead and select the type of data that you want to recover and click ‘Next.’
- On that application interface, select the folder location or drive volume and click ‘Scan.’
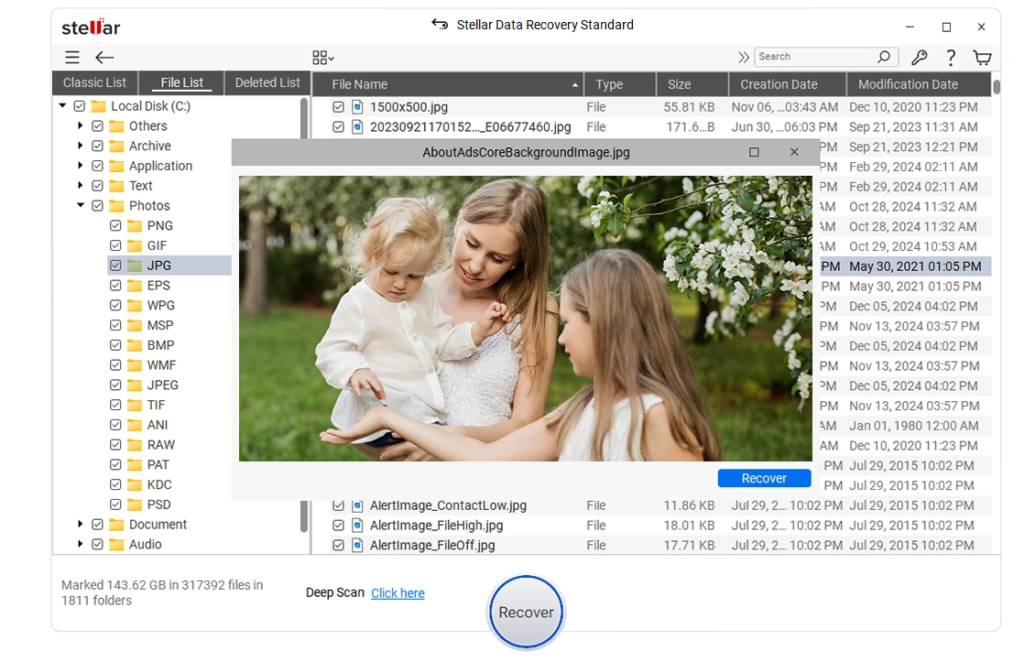
- Select those files of yours after that scan finishes and then just click ‘Recover’ to save recovered data.
Once you go ahead with the process, your files will be recovered and stored back safely on your storage without a hiccup.
Prevention and Regular Backups
Once you’ve weathered this scare, make sure it never happens again. Don’t let one SSD be your only copy.
- Realistic Lifespan: SSD makers typically rate drives for approx 5–10 years of active use. In reality, frequent power cycles, heavy writes, and high heat can just shorten that lifespan.
- Backup Strategy: Always keep multiple copies of that critical irreplaceable data of yours. A common rule is 3-2-1… where three total copies on two different media with one offsite or in the cloud maybe. For example just keep your files on your PC, an external drive, and a cloud service.
- Drive Refresh: If you use SSDs as your backups, power them up real good and rewrite all their data once a year at least. This “refresh” rewrites every sector and recharges the flash cells, effectively resetting the clock.
- Multiple Media: For long-term archiving, consider mixing in other media. Traditional HDDs or archival optical discs (like M-DISC) can store data for decades without the same “charge leakage” issue. Even magnetic tape (yes, tape!) is rated for multi-decade storage. Diversifying means one failed drive doesn’t lose everything.
- Cool, Dry Storage: Heat accelerates charge loss in flash. Store idle SSDs in a cool environment – not a hot attic. In fact, retention drops off exponentially with temperature, so climate control helps your data hold on.
By following these practices, you dramatically reduce the risk of unseen data loss. Think of it as giving your SSD a little TLC: keep it “alive” or keep backups ready.
Bringing It All Together
In summary, SSDs are lightning-fast but not foolproof for long-term storage. An SSD that sits unpowered can slowly lose data over months or years. If this happens, say Windows won’t boot or folders vanish… first try disk-check tools and safe-mode repairs. If that fails, use a proven data recovery program to scan for your files (the free scan feature makes this easy and low-risk). Once it locates your data, upgrade to recover it fully.
It may feel like you’re throwing spaghetti at the wall, but recovery software really can work wonders – many users retrieve most of their data this way. Whatever the outcome, take it as a lesson: don’t rely on a single copy. After this experience, set up a rock-solid backup routine (multiple drives and cloud copies). Then your SSD can get back to being a speedy drive – not a silent vault of forgotten files.
Read More My Next Mag


