

We have all been there: you capture a once-in-a-lifetime moment or receive a critical document photo, only to realize the focus is soft or the camera shook at the exact wrong second. In the past, a blurry photo was a lost cause. Today, the ability to unblur image files has transformed from a “CSI” trope into a sophisticated reality for creators and professionals alike.
When you restore a photo, you aren’t just sharpening edges; you are recovering lost data and professional credibility.
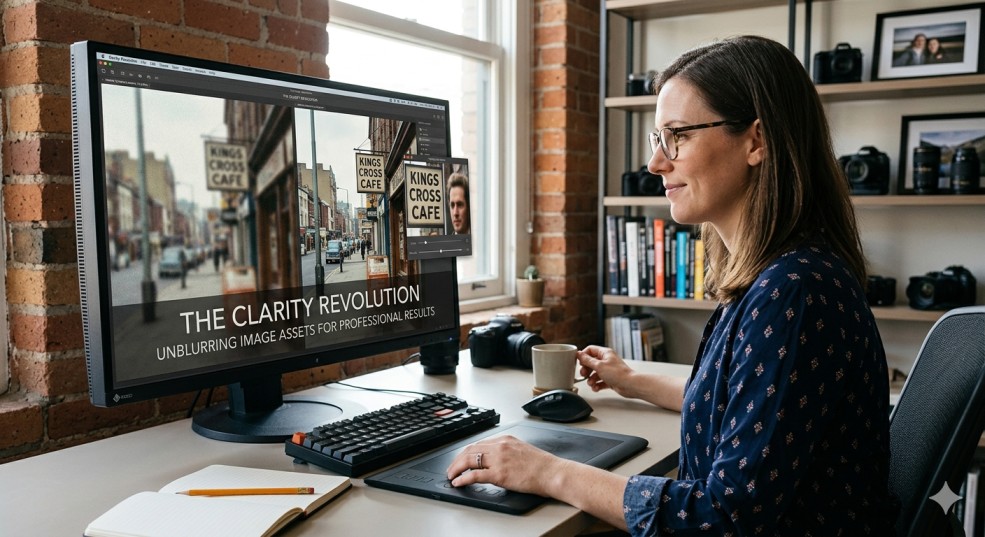
The Science of Sharpness
To effectively unblur image content, it helps to understand why the blur happened in the first place. Modern restoration tools generally target three specific types of visual “noise”:
- Motion Blur: Caused by the subject moving or the photographer’s hand shaking. This creates a “streaking” effect that needs to be mathematically reversed.
- Out-of-Focus Blur: This happens when the lens is physically set to the wrong focal plane. Restoration here involves “tightening” the light spread to recreate a sharp edge.
- Digital Softness: Low-resolution images often look blurry because there aren’t enough pixels to define detail. Here, the goal is to “upscale” and fill in the blanks intelligently.
Strategic Use Cases: When Clarity Matters Most
High-fidelity visuals are often the deciding factor in how a brand or individual is perceived.
- E-commerce & Product Listings: A blurry product photo signals a lack of professionalism. Being able to unblur image assets ensures that textures and fine details—like the stitching on a bag or the text on a label—are crisp enough to build consumer trust.
- Historical Preservation: We all have family archives or old company photos that have aged poorly. Sharpening these images allows us to see faces and environments with a clarity that wasn’t possible at the time the photo was taken.
- Document Recovery: When a snap of a receipt, a contract, or a business card comes out unreadable, a sharpening tool can be the difference between a successful filing and a lost opportunity.
The Workflow of Restoration
| Step | Action | Goal |
| Analysis | Identify if the blur is from motion or focus. | Select the right tool for the job. |
| Adjustment | Apply sharpening incrementally. | Avoid the “crunchy” over-processed look. |
| Noise Reduction | Clean up any “grain” introduced by sharpening. | Achieve a smooth, natural finish. |
| Export | Save in a high-quality format like PNG or TIFF. | Retain the newly recovered details. |
The “Natural” Limit
While the technology to unblur image files is powerful, the hallmark of a professional is knowing when to stop. Over-sharpening can lead to “halos” around objects or a plastic, artificial look. The most successful restoration is one where the viewer never suspects the image was ever blurry to begin with.
By utilizing these tools, you ensure that a technical error doesn’t stand in the way of a powerful visual story. Whether it’s a marketing campaign or a personal memory, clarity is the key to connection.


