

Making an onion cell slide is one of the easiest ways to help kids see real plant cells with a microscope. This wet mount tutorial uses simple materials and clear steps to reduce air bubbles, improve focus, and deliver a sharp view of the onion epidermis with its brick-like cell pattern.
Supplies
Must have
- Onion (white or yellow works well)
- Clean glass slide and coverslip
- Water
- Dropper or pipette
- Tweezers (or a toothpick)
- Paper towel or tissue
- Kids microscope with low and higher magnification
Optional stain
- Iodine solution (helps boost contrast)
- Cotton swab for applying stain
- Disposable gloves (useful for stain handling)
Peel a Thin Onion Skin
Best layer to use
Use the ultra thin, transparent membrane from the inside surface of an onion layer. Peel the onion, separate one fleshy layer, and look for the shiny inner side. With tweezers, lift a small corner of the clear film and pull slowly so it stays in one piece. Smaller pieces are easier to mount flat and are less likely to trap air.
Keep it flat
Onion skin curls quickly as it dries. Set the peeled membrane on a lightly damp paper towel while you prepare the slide. Keep it moist, not soaked. A thin, hydrated sample spreads evenly, lets light pass through, and produces cleaner edges under the lens.
Build the Wet Mount
Add water
Place one small drop of water near the center of the slide. One drop is usually enough. Too much water makes the sample drift. Too little water increases the chance of trapped air.
Lower coverslip cleanly
Place the onion skin into the water drop and gently flatten it with the tip of a toothpick. Hold the coverslip by the edges, touch one side of it to the water, then lower it slowly at an angle so the liquid pushes air out as it spreads. Avoid pressing down because that can tear the membrane or squeeze water out from under the coverslip.
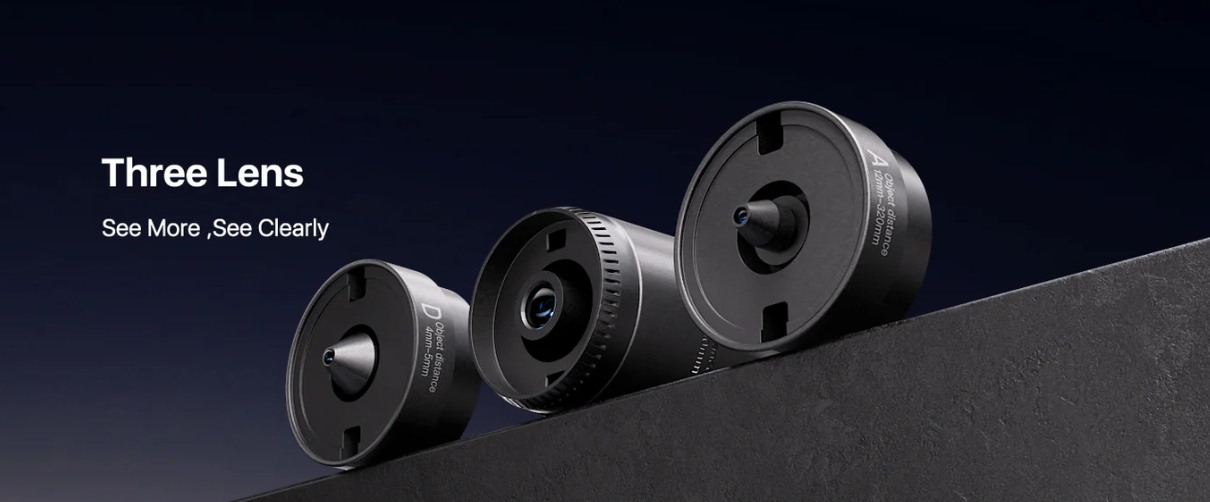
Hands on slide work goes smoother with a microscope that is easy for kids to handle from the first setup step. Tomlov’s 3 lens models support quick switching between magnification levels so children can scan for the onion membrane on low power before moving in closer. The design focus is practical home use, with straightforward controls that help reduce fiddling while kids learn basic lab habits. Discover the kid’s microscope options in this collection to match simple wet mount activities with a setup built for repeatable viewing.
Get a Clear View
Low power first
Start with the lowest magnification. Center the sample over the light and bring it into focus slowly. Use the coarse focus knob first and stop as soon as the image begins to sharpen. Then switch to fine focus to make the cell outlines crisp.
Light and contrast
Adjust brightness so the slide is bright but not washed out. If your microscope has a diaphragm or light control, reduce glare and increase contrast until the cell walls become more distinct. Often, slightly less brightness reveals more detail than maximum light.
What a good slide looks like
A good onion cell view looks like a neat grid of rectangular shapes with clear borders. The membrane should look flat and evenly lit. You may not see the nucleus clearly without stain, and that is normal. A simple success check for kids is sharp cell walls and a stable image that stays in place when you gently nudge the slide.
Clear viewing depends on more than the slide, it also depends on how smoothly the microscope focuses and how easily kids can adjust lighting and magnification without losing the target. Tomlov’s 3 lens lineup is designed to make that transition easier, moving from a bright, low power overview to a sharper close up view with less trial and error. Explore this microscope for kids collection to find models that support controlled focusing and consistent contrast for beginner friendly cell observations.
Fix Air Bubbles
Why bubbles happen
Air bubbles usually come from lowering the coverslip too quickly, using too little water, or trapping air under a curled or folded onion skin. Bubbles look like bright circles or rings that block the view of the cells underneath.
Quick fixes
| What you see | Likely cause | Fast fix | When to redo |
| One or two small bubbles near an edge | Coverslip lowered too fast | Add a tiny drop of water at the coverslip edge so it wicks under | Redo only if bubbles drift into the center and won’t move |
| Many bubbles scattered across the middle | Too little water, or the onion skin is not fully wet | Add water at one edge and use a paper towel corner at the opposite edge to gently draw water through | Redo if the center stays blocked after one careful wicking pass |
| A large bubble trapped under the sample | Onion skin curled or folded | Tap the coverslip lightly near the bubble to encourage it to migrate toward the edge | Redo if the onion skin is folded or thick and keeps trapping air |
| New bubbles appear when the coverslip is pressed | Pressing squeezes liquid out and pulls air in | Stop pressing, add a small amount of water at the edge, and let it settle | Redo if the sample is drying and the coverslip no longer sits flat |
When to redo
Redo the slide when the onion skin is folded, torn, or heavily bubbled across the center. Also redo if the sample is drifting because the water drop is too large. Remaking a clean wet mount is usually faster than trying to rescue a slide that will not clear.
If the Image Is Blurry or Dark
Blurry image fixes
| Symptom | Check this first | Fix | Prevent next time |
| Nothing looks sharp at any magnification | You started on high power | Return to low power, refocus, then move up | Always locate the sample at low power first |
| Part of the view is sharp, part is fuzzy | Coverslip is tilted, or the sample is folded | Rebuild the mount with a flatter sample and slow, angled coverslip lowering | Use a smaller onion skin piece so it lies flat |
| Image sharpens, then slips out of focus | Sample drifting in too much water | Remake with one small drop of water | Keep the water drop small and centered |
| Cell outlines look smeared | Sample is too thick | Peel a thinner epidermis strip and remount | Pull the clear inner membrane only, not the fleshy layer |
Dark image fixes
| Symptom | Check this first | Fix | Prevent next time |
| Image is dim even at low power | Light level or diaphragm setting | Increase brightness or open the diaphragm slightly | Set brightness before switching to higher power |
| Slide looks too dark after staining | Too much stain | Remake with lighter staining, or wick in a little water to dilute | Use a minimal stain amount and avoid flooding the slide |
| View looks gray with low contrast | Glare or misalignment | Reduce brightness slightly and recenter the slide over the light path | Center the slide and tune contrast before zooming |
| Sudden darkness or uneven lighting | Smudges on eyepiece or objective | Wipe gently with a lens cloth | Handle optics by the body, not the lens surfaces |
Conclusion
An onion cell wet mount is a simple kids microscope activity that teaches careful prep, gentle handling, and step by step focusing. Keep the onion skin thin, lower the coverslip at an angle, and tune the light for contrast. With a clean slide and calm adjustments, sharp cell walls appear quickly and reliably.


