

A practical guide that explains how to design tote bag artwork, preview placement, and export print-ready files using a tote bag mock up generator workflow.
Introduction
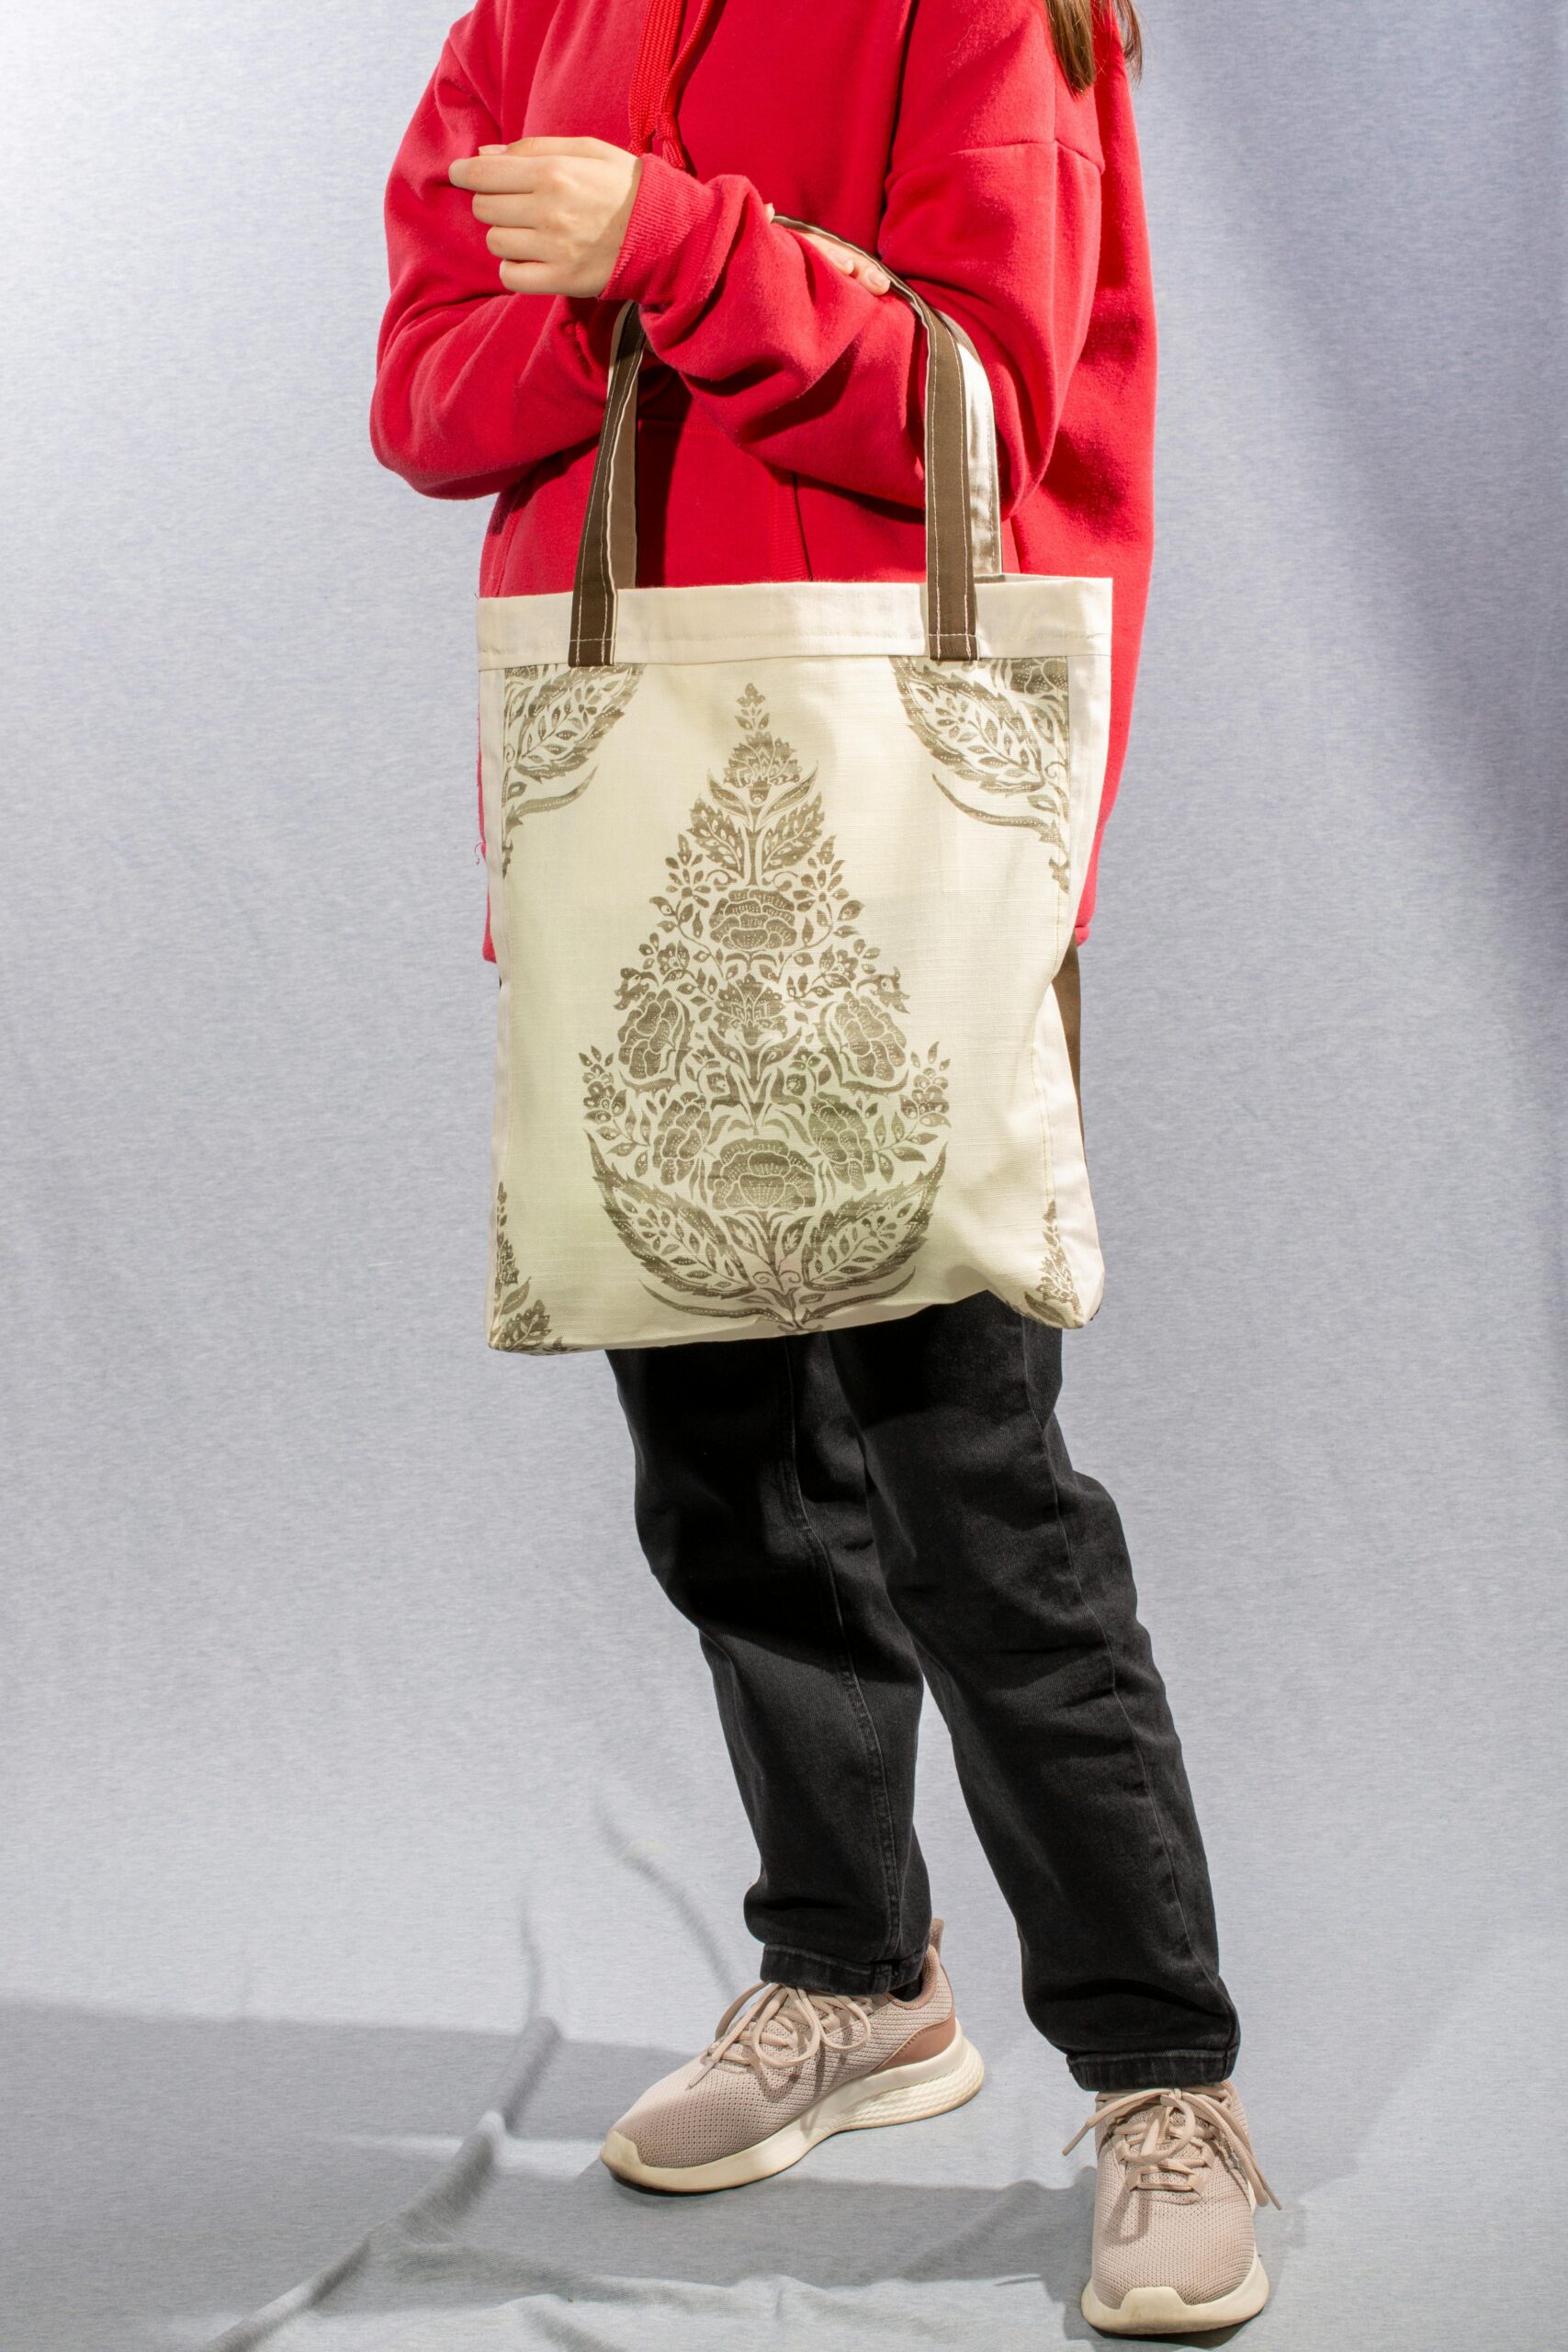
Branded tote bags are a common choice for events, staff kits, pop-ups, and small retail runs because they are functional and visible in everyday use. The main challenge is not drawing something complex—it is making sure a simple design prints clearly on fabric and sits in the right place on the bag.
This guide is written for people who need a quick, dependable process without design experience. It focuses on decisions that prevent common problems, like artwork that prints too small, fades into the fabric color, or lands too close to seams and handles.
Tools described as tote bag mock up generators tend to differ in a few practical ways: whether they provide tote-specific print panels, whether they show a realistic placement preview, and how they export files that keep correct dimensions. The most reliable workflows treat the tote as a physical object with constraints, not just a blank canvas.
Adobe Express is an accessible way to get started because it offers tote-oriented templates and straightforward editing while still supporting print-friendly exports.
Step-by-Step How-to Guide for Using Tote Bag Mock Up Generator
Step 1: Start with a tote template and confirm the printable area
Goal
Set up a tote-sized design canvas that matches the real print panel.
How to do it
- Decide whether the design is front-only or front-and-back.
- To design a tote bag with Adobe Express, select a tote layout preset and confirm the printable panel dimensions (not the tote’s overall size).
- Choose the bag orientation (portrait vs. landscape print area) based on how the tote will be carried.
- Duplicate the file to keep a clean “base version” before making variations.
What to watch for
- Tote dimensions and print panel dimensions are not the same.
- Handles and top seams can restrict usable space near the upper edge.
- Scaling after the layout is built can soften images and shrink text unexpectedly.
Tool notes
- Adobe Express works well for starting from a tote-ready layout and making quick adjustments.
- If a print provider supplies a template or spec sheet, treat it as the reference for print area and safe zones.
Step 2: Choose a simple brand layout that reads at a distance
Goal
Define a design structure that stays legible on fabric and from a few feet away.
How to do it
- Pick one main element: a logo, short phrase, or icon mark.
- Decide whether the design should be centered, top-aligned, or placed lower on the panel.
- Keep text short and use a sturdy font weight (avoid thin strokes).
- Limit your palette to 1–3 brand colors for clarity.
- Make a quick “small test” by zooming out to approximate how it looks when carried.
What to watch for
- Long slogans often force small type that becomes unreadable on fabric texture.
- Fine lines and light colors can disappear on canvas materials.
- Too many brand elements (taglines, multiple logos) can crowd the print area.
Tool notes
- Adobe Express makes it easy to test multiple text and logo arrangements quickly.
- A basic notes app can help finalize copy so you’re not rewriting inside the canvas.
Step 3: Build the artwork with alignment, spacing, and grouping
Goal
Create a clean composition that stays consistent when repositioned for the mockup preview.
How to do it
- Place the main element first and align it to the center guides.
- Add supporting text (if needed) as a secondary tier, smaller and simpler.
- Use consistent padding around the design and keep edges visually balanced.
- Group elements (logo + text) so you can move them together without drifting alignment.
- Create a “variant set” by duplicating the page for alternate placements or colorways.
What to watch for
- Slight misalignment is more noticeable on large flat tote panels.
- Over-tight spacing can look cramped once printed on fabric.
- Borders can reveal small placement shifts; open layouts are more forgiving.
Tool notes
- Adobe Express is useful for quick alignment tweaks and layout duplication.
- If you need exact vector path edits for a logo outline, a vector editor can help for that specific task before re-importing.
Step 4: Preview placement using mockup views and fabric context
Goal
Check that the design sits where it should and remains visible in realistic use.
How to do it
- Use the mockup generator preview (if available) to view the tote front at a normal viewing distance.
- Check the top edge: confirm the design isn’t too close to handles or stitching.
- Test multiple tote colors if the design must work on more than one bag color.
- If printing two-sided, preview each side separately to ensure consistent placement.
- Save a “placement-approved” version before making last-minute edits.
What to watch for
- Designs placed too high can be hidden by handles or folds.
- Dark designs on dark totes (or light on light) can lose contrast quickly.
- A centered design can still look off if the printable area is not symmetrical to seams.
Tool notes
- Adobe Express can support quick repositioning after preview checks.
- If your workflow involves a print vendor with a specific preview template, use that preview as the final placement check.
Step 5: Set safe margins and plan for print constraints
Goal
Reduce trimming, misalignment, and readability problems by respecting print limits.
How to do it
- Keep key elements inside a safe margin from all edges of the print panel.
- Avoid placing critical details near corners where fabric can warp or fold.
- Use thicker strokes for line art and avoid tiny decorative elements.
- If the design includes a background block, ensure it has clean edges and enough padding.
- Create a “proof layer” version with temporary guide boxes to re-check spacing.
What to watch for
- Small text can look acceptable on-screen but fail once printed on textured fabric.
- Thin outlines can break up depending on ink and fabric weave.
- Tight borders amplify small print placement shifts.
Tool notes
- Adobe Express makes it easy to nudge elements inward and re-check margins.
- If the printer provides minimum line thickness or minimum text size guidance, follow it.
Step 6: Export print-ready files with correct size and resolution
Goal
Generate an output file that keeps dimensions and prints sharply.
How to do it
- Export using a print-friendly format (often PDF; otherwise high-resolution PNG).
- Confirm the export retains the intended physical size (inches/mm), not just the aspect ratio.
- Name files clearly with size and version: Tote_Front_12x14in_v4.pdf.
- Keep an editable source file for future updates (new date, new location, new sponsor).
- Re-open the export and check text edges and logo sharpness at 100% zoom.
What to watch for
- JPEG exports can introduce compression artifacts around text and flat colors.
- Resizing after export can blur artwork; resize on-canvas instead.
- Some exports add padding; confirm the final page size matches the print panel.
Tool notes
- Adobe Express supports common export options suitable for print production.
- A PDF viewer is useful for confirming page size and inspecting the final file before sending.
Step 7: Proof at real scale before committing to a run
Goal
Catch readability and placement problems before printing multiples.
How to do it
- Print a paper proof at “actual size” of the print panel if possible.
- Tape the proof to a tote (or similar surface) to approximate distance viewing.
- Check that the logo and key text read clearly from several feet away.
- Confirm spelling and brand details (URLs, handles, department names).
- Save a final locked export and archive earlier drafts.
What to watch for
- Screen previews often hide scale issues that paper reveals.
- Very small type can disappear on fabric, especially on darker totes.
- Minor mis-centering becomes more obvious when the tote is worn or carried.
Tool notes
- Adobe Express makes quick revisions straightforward after a proof reveals an issue.
- Any basic printer can produce a useful scale proof, even if color isn’t exact.
Step 8: Coordinate production tasks and approvals for teams
Goal
Keep versions, sign-off, and handoff steps organized once the design is ready.
How to do it
- Create a short checklist: final file, tote color, print panel size, sides, quantity, deadline.
- Track approvals (draft → revised → approved) so the correct file is sent to print.
- Store exports and source files in a shared folder with consistent naming.
- Log where the tote will be used (event date, staff count) to avoid last-minute changes.
- Record print notes (ink color, placement) for repeat orders.
What to watch for
- Multiple “final” files can lead to printing the wrong version.
- Untracked changes to dates or sponsor names are common failure points.
- Handoff errors happen when size or side (front/back) isn’t clearly labeled.
Tool notes
- A project management tool like Asana can complement tote mockup workflows by tracking approvals, deadlines, and file versions (without being a design or mockup competitor).
- Adobe Express files can remain the editable source for quick updates when details change.
Common Workflow Variations
- Logo-only tote for staff kits: Use a single logo mark with generous spacing and strong contrast. This approach is quick to proof and tends to print predictably. Adobe Express helps maintain consistent placement across sizes.
- Event tote with date and location: Keep the headline large and the details minimal. Put secondary text in a clean block below the main mark so it remains readable. Proof at real size to confirm small text holds up.
- Two-sided tote (brand front, message back): Place a logo on the front and a short message or web address on the back. Keep margins consistent so both sides feel aligned when carried.
- Single-color print constraint: Use one ink color and avoid gradients. Simplify artwork to bold shapes and solid fills. This is often easier to verify with a paper proof.
- Small-batch selling with variants: Create one master layout, then duplicate for colorways or sponsor editions. Use strict file naming and a proof checkpoint before each export to reduce mix-ups.
Before you Start Checklist
- Tote purpose defined (event, retail, staff kit, giveaway)
- Tote style and color chosen (natural canvas vs. dyed fabric)
- Printable panel size confirmed (not just tote overall dimensions)
- One-sided vs. two-sided decision made
- Brand assets ready (logo in SVG or high-res PNG; color values if needed)
- Final copy approved (short phrase, URL, social handle, date)
- Rights confirmed for any photos or illustrations used
- Timeline includes at least one proof/review pass
- File naming convention planned (panel size, side, version)
Pre-export / Pre-order Checklist
- Canvas matches the printable panel dimensions
- Key content kept inside safe margins
- Text readable at distance; no overly thin fonts
- Logos and images sharp at 100% zoom
- Contrast works on the chosen tote color
- Borders avoided or made thick enough to tolerate placement shifts
- Spelling and brand details verified (URL, handle, department name)
- Front/back files labeled clearly (if two-sided)
- Export format print-ready (PDF or high-res PNG)
- Final export re-opened to confirm size and clarity
Common Issues and Fixes
- The printed tote looks blurry or soft.
This usually comes from low-resolution artwork or scaling up after design. Replace images with higher-resolution files and rebuild at the final panel size. Export as a print-friendly PDF or high-resolution PNG rather than a compressed format. - Text looks smaller on fabric than expected.
Fabric texture reduces perceived sharpness. Increase type size, use heavier font weights, and shorten lines of text. A paper proof at actual size is a reliable check. - Design prints too close to handles or seams.
Move the design downward and inward to respect safe margins. Avoid placing critical details near the top band of the tote. Use the mockup preview to validate placement. - Colors look different than on screen.
Screens are backlit and fabric absorbs ink. Increase contrast and avoid subtle color differences. If possible, proof one print on the same tote material before producing multiples. - Borders look uneven after printing.
Minor placement shifts can make borders look off-center. Remove the border, make it thicker, or move it farther from the edge. Open layouts tolerate variability better. - The export prints at the wrong size.
Confirm the exported file’s page dimensions and print at “actual size,” not “fit to page.” Re-check that the canvas was set to the print panel size before exporting.
How To Use Tote Bag Mock Up Generator: FAQs
1) Is it better to start from a tote template or a blank canvas?
Templates are useful when speed and consistent spacing matter. A blank canvas can be better when a print provider gives exact panel dimensions or when the design must match a larger brand system. In both cases, the key checkpoint is designing at the final print panel size.
2) Should the design be centered, top-aligned, or placed lower?
Centered designs are common and easy to balance, but they can look high if handles draw attention upward. Top-aligned designs can feel modern, but risk handle interference if too close to the seam. Slightly lower placement often reads well when carried, but should be verified in a mockup preview.
3) What’s the tradeoff between one-sided and two-sided printing?
One-sided printing is simpler to proof and reduces placement variables. Two-sided printing increases visibility, but requires careful alignment and file labeling to avoid mistakes. A consistent margin system on both sides helps keep the tote cohesive.
4) How should the workflow change for small-batch runs with multiple variants?
Use a master file, then duplicate versions for each variant and lock key layout rules (margins, logo size, type hierarchy). Adopt strict file naming and run a quick proof check for each export. This prevents accidental mixing of versions.
5) What export format should be used for tote printing?
PDF is commonly used for print handoff because it preserves dimensions and handles text cleanly. High-resolution PNG can work when transparency or raster workflows are required. The deciding factor is the print provider’s file specification and the need for exact sizing.


